
San Francisco is always on my mind. See you round Christmas though!
San Francisco is always on my mind. See you round Christmas though!
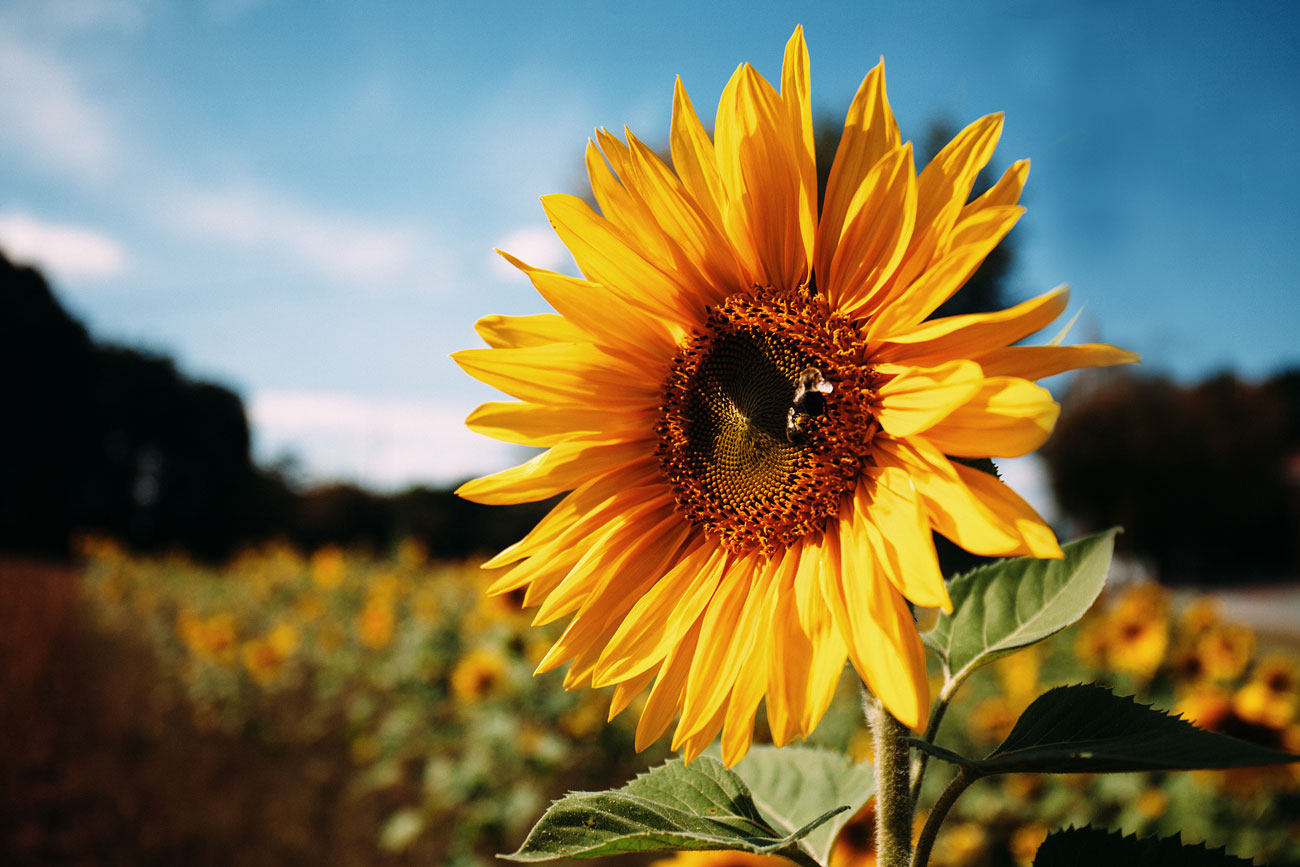
It seems like everywhere you are in the South, there’s a picturesque place to find and explore. Fields that stretch for miles that are just minutes away from big cities, nature everywhere waiting to be photographed and most importantly, experienced.

Horses and mules hang out behind the backyard in North Carolina.

Kayaking is always fun, especially as the leaves are changing colors as Fall comes to a close.
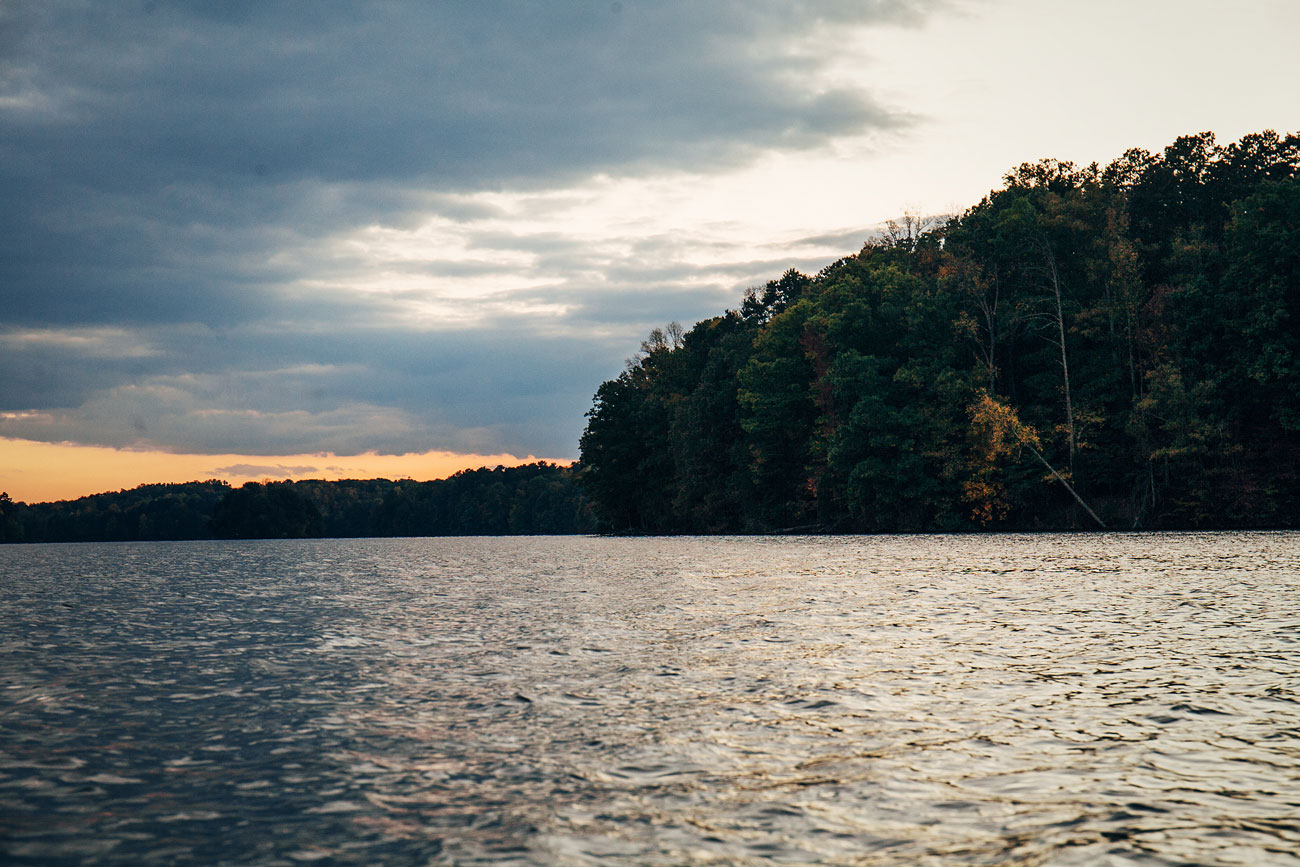
The waters are chillier in October, even in the South, so be sure to put on a sweater!

Kayaking into the sunset, we just wish we could stay beyond closing time and admire the stars the way that they should be admired, in pure darkness.

on the I-40 Westbound headed back to Charlotte from Chapel Hill. The colors are really starting to develop.

Bubbles that Daft Punk would be proud of.

EDM Jellyfish.
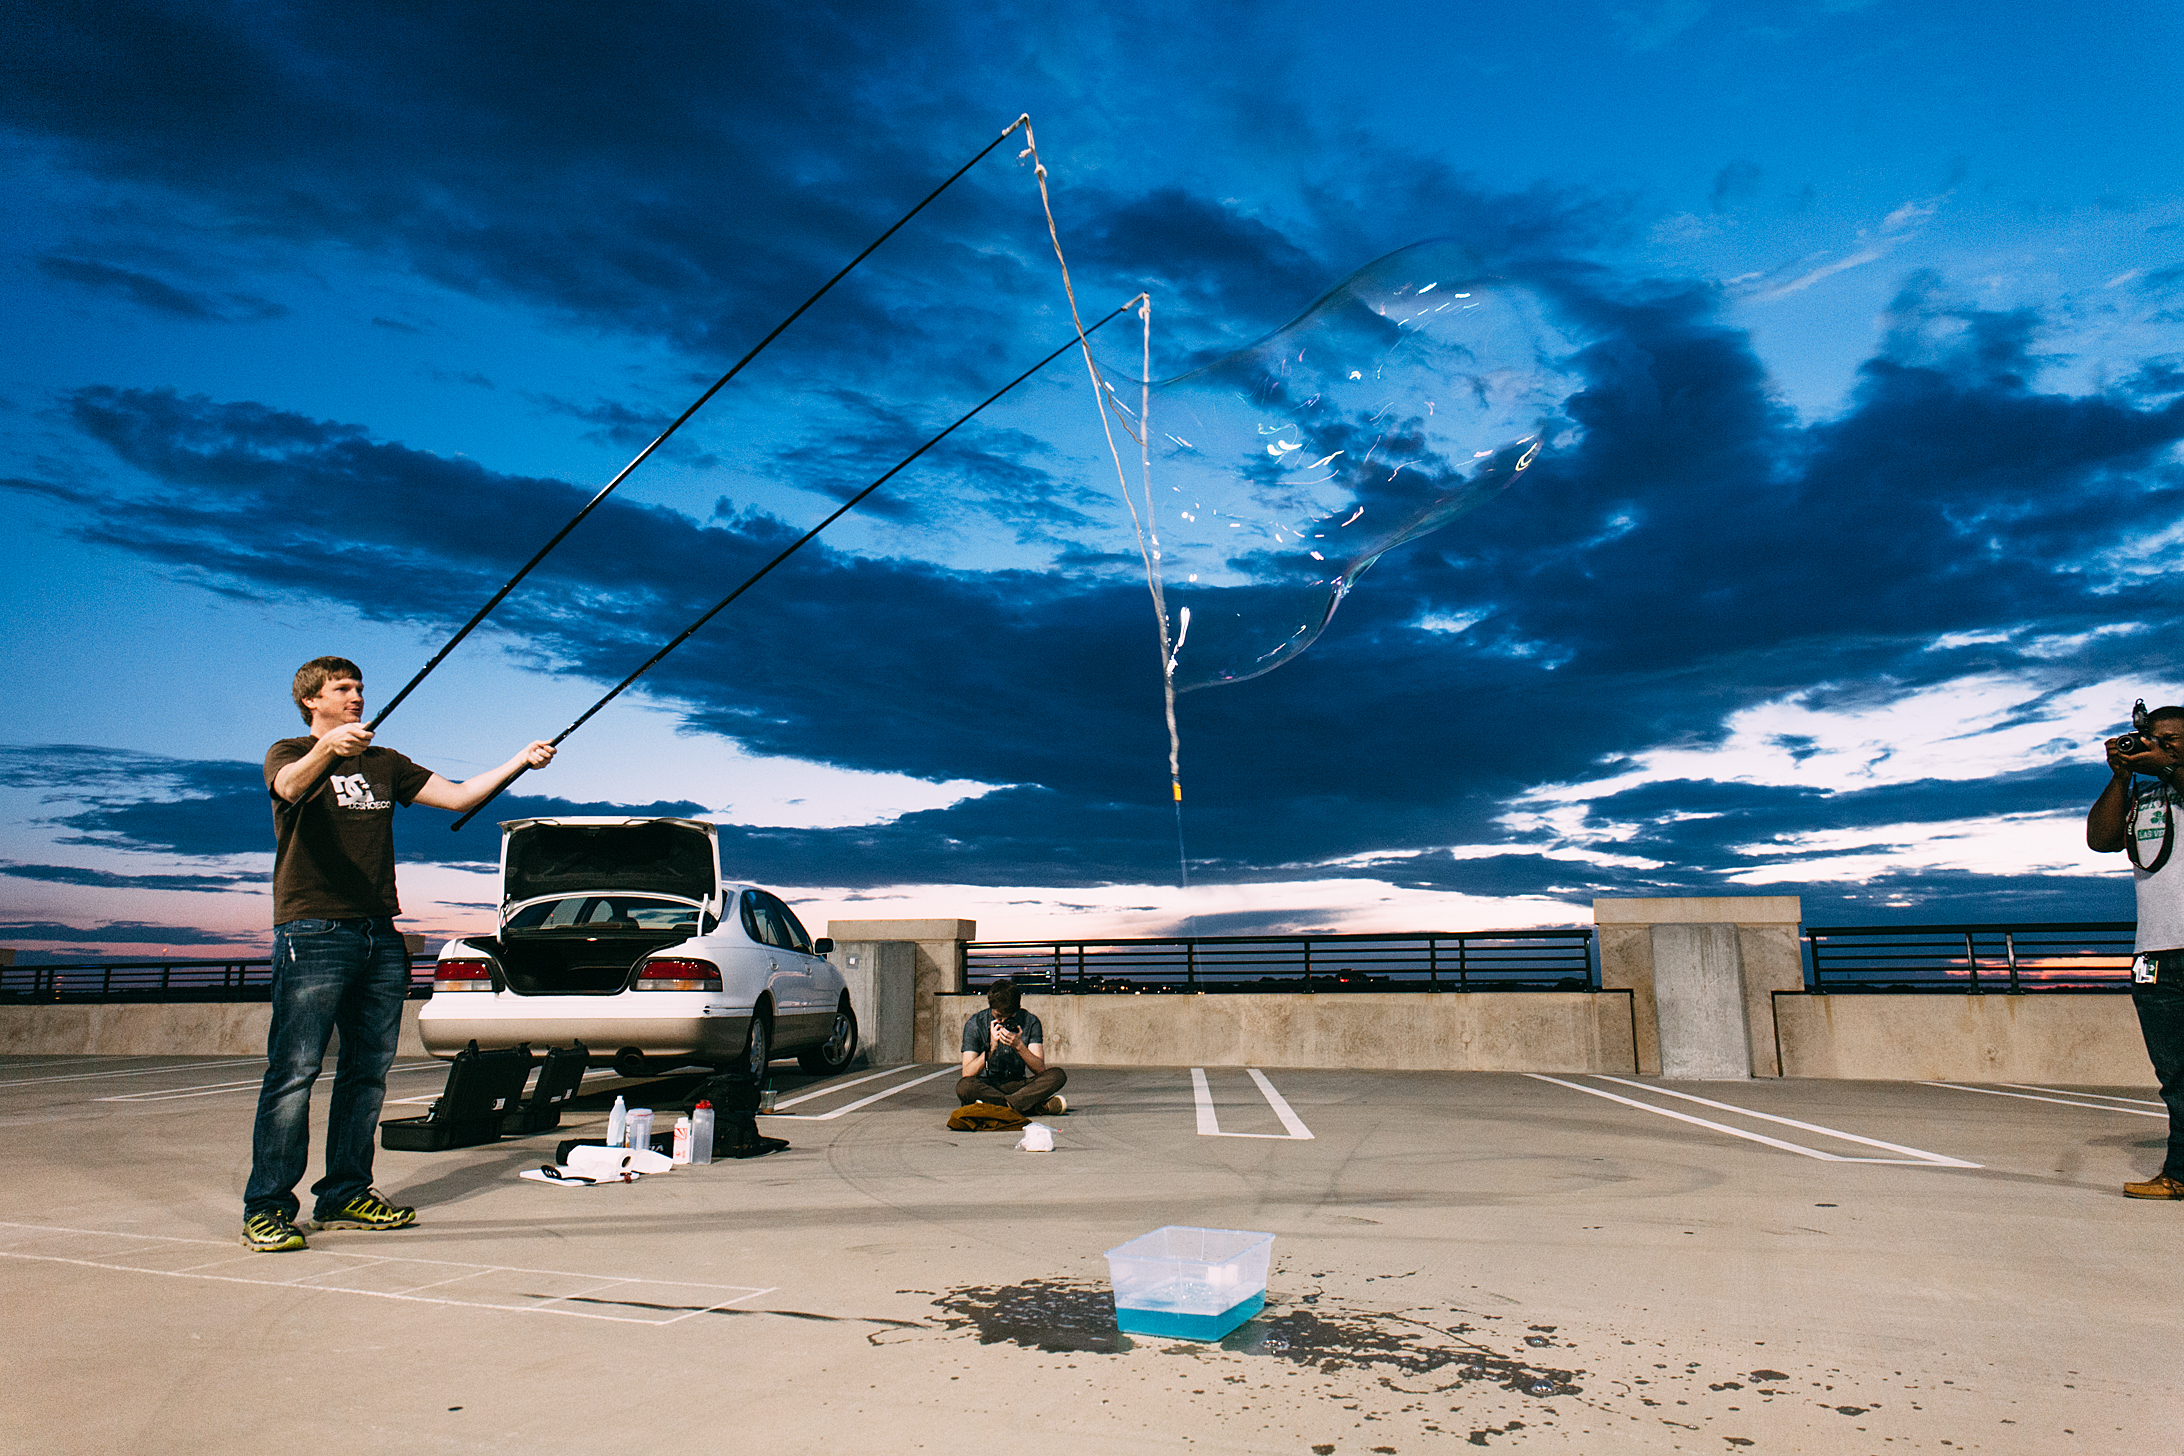
This is how you make bubbles.
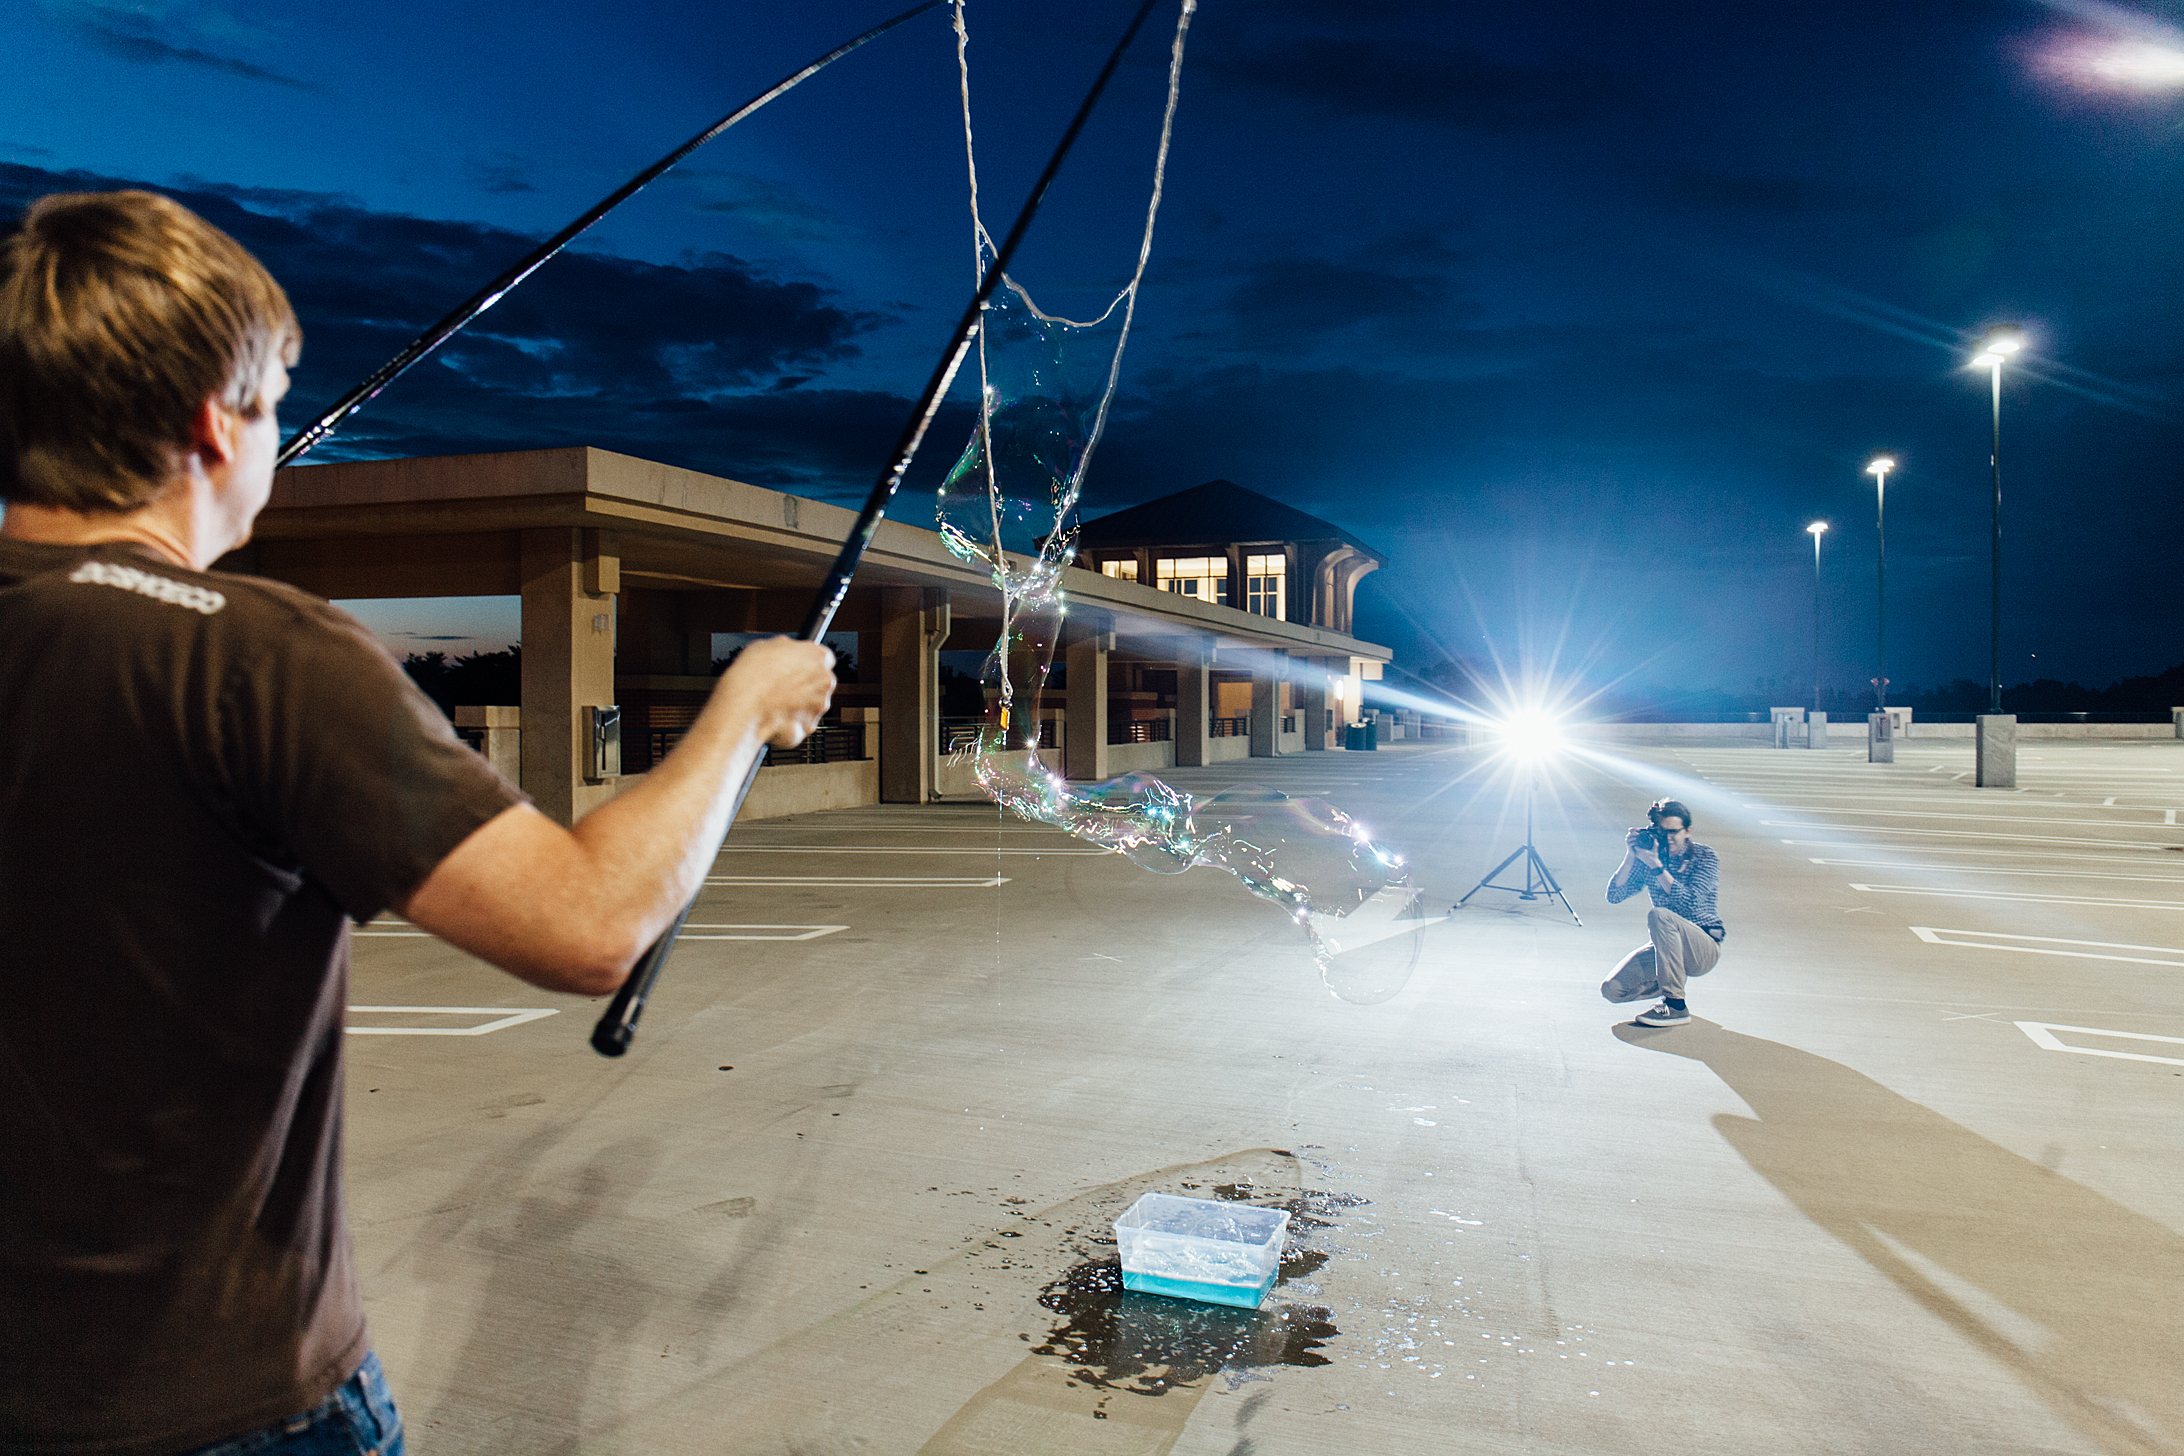
And this is how you photograph them 😀

Crawfish Etouffe, my all time favorite dish


You can just keep moving on, we’ve seen all the reviews about how great this tire is, but hey, if you have a couple minutes, stay on my page and read my experiences with it too. This is coming from an avid commuter and lay-man bicyclist that just enjoys going as fast as I can or as slow as I want. I’m a city cyclist with an occasional taste for the finer things in life, sometimes I like to use what the pros use and the Continental GP4000s ii is one of those items. Now that they supposedly fixed the “1000 mile blow out” problem of the version I, this is even more reason for me to use them. The version 2’s are exactly the same the version 1’s. The only difference now are the new color options and sizes. With the version 1’s, the tires had to be all black. It was the only way Continental could get the black chili compound in there. But now they’ve figured out how to include Black Chili and make the tires in different colored trims. This isn’t a big deal for me, but for people who wanted a 700×28 tire, they have that option now.
Is this tire overkill for my needs? Probably, but if I’m going to be biking over a thousand miles on my bike a year, I think safety and comfort are worth the $100. I’d rather buy the best that I can afford when it comes to tires. Like cars, you can’t skimp on tires because they’re the only things touching the road.
The GP4000s ii is the 2nd version of the acclaimed GP4000s I. Both tires have the special black chili compound mixed in which gives the rubber a really soft and tacky feel to it. This tire throws up all sorts of debris when it goes over small rocks or when I’m riding in the gutter, the rubber just latches onto whatever touches. I have ridden through heavy rains without fail for over 800 miles so far except for a flat in the rear tire. That was mainly my fault caused by riding through an awfully large mound of broken glass just to see how well these tires would hold up in wet conditions. As great as the GP4000s II is, it’s not quite up to snuff as the Gatorskins or 4Seasons when it comes to rear puncture protection. Because of that I changed my rear tire to a Gatorskin Ultra to withstand the extra weight since I usually ride with about 15 lbs of stuff on my back.
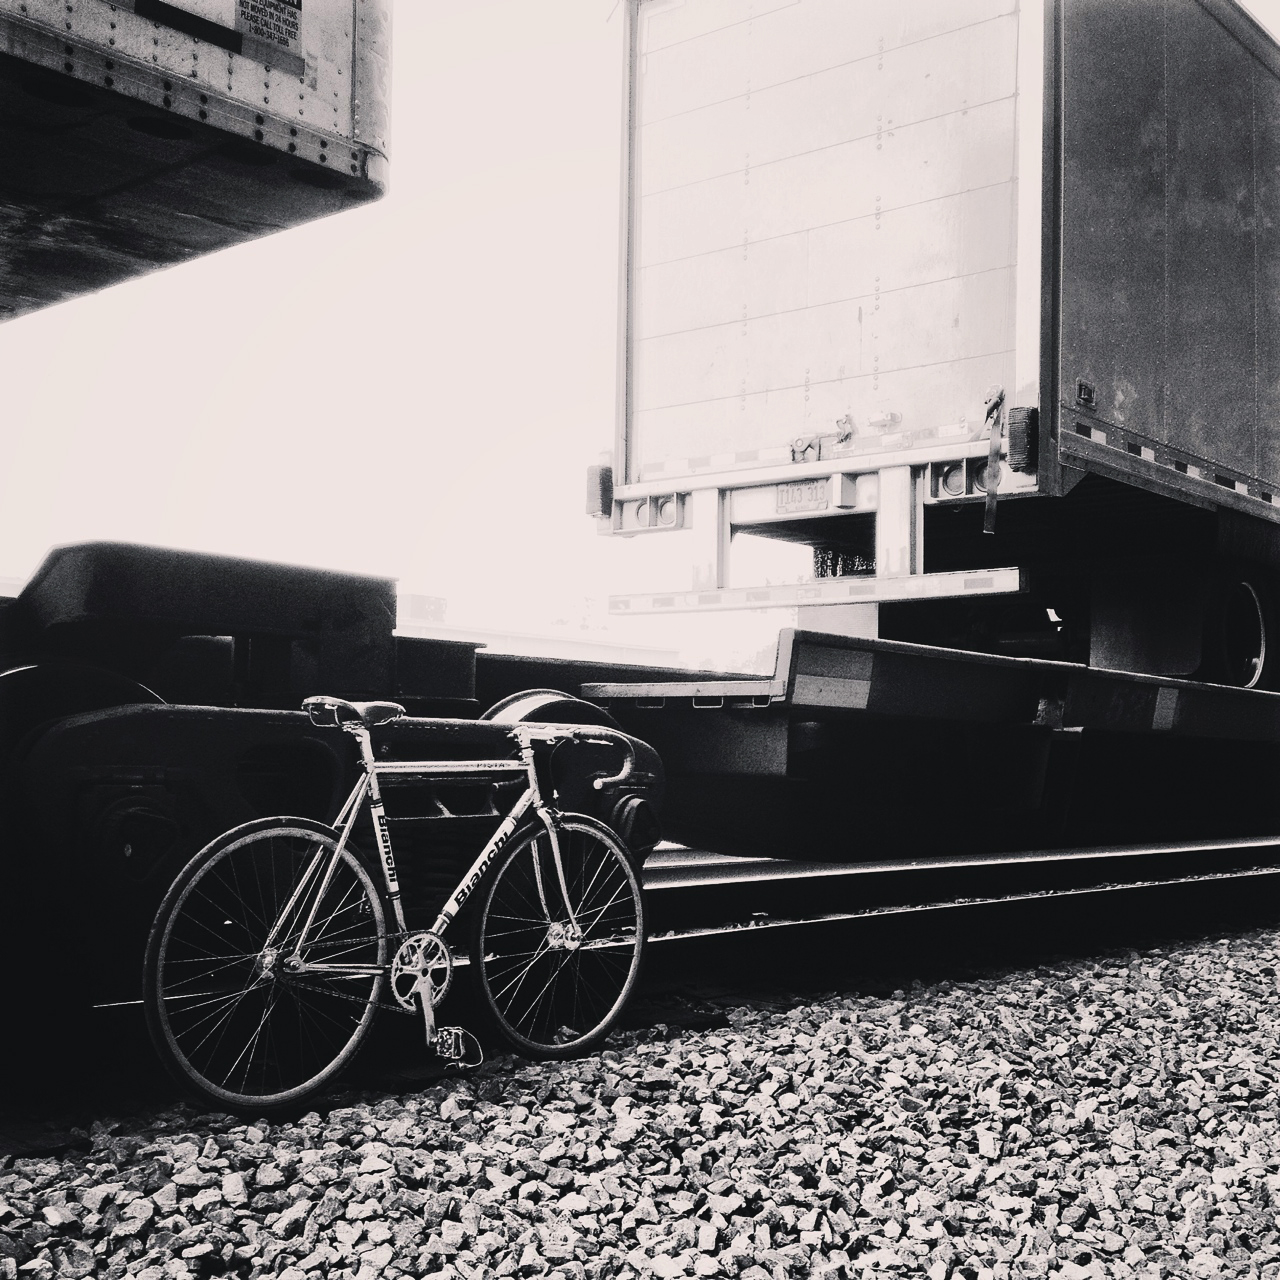
I have leaned heavily into corners on slick cement (as far as a Bianchi Pista can let me lean, which is a a lot since it has a really high bottom bracket) without fail or feeling skiddish in the rear. The tires roll very smoothly and I can definitely feel a difference when starting from a stop. As far as the bike feeling faster overall, I doubt there is much difference. You’d have to get much lighter wheels or just work up your cadence and muscles if you want to go faster.
The GP4000s ii on the front holds up very through extremely poor road conditions, light pavement gravel, small rocks, pebbles, craters, bumps and the occasional piece of glass and metal. I would be extra careful on the rear if you using these. There’s a nice amount of protection in the middle of the tire with Conti’s Vectran belt and I’ve ridden 800 miles before i got a flat in the rear, but still this tire should last a lot more than 800 miles. I am also quite light at only 155lbs. If you’re over 200lbs and riding with back full of gear than perhaps some 700x28s would be in order instead or at least a tire with a bit more protection. If you’re heavier and want to stay with the 23 or 25s, then you should be a a litte cautious going over too much debris and try to the stay on the smoother parts of the road. If you’re using this mainly on bike trails then you should be ok either way.
People have complained that the rubber is softer and that it wears a bit faster in the GP4000s i & ii, but for the performance, it’s something that I can live with. If you’re a “i don’t need your opinion, I need hard facts” kind of guy, than check out Slowtwitch’s in depth data analysis of the GP4000s ii’s rolling resistance and power needed to propel, compared to other tires.

Looking Glass Falls in Transylvania County
Last weekend, I was able to tag along and head out to Asheville, NC for the first time. The vibe of the city reminded me of Berkeley and Santa Monica, except that it was nestled in the valley of the large mountain range. I would say that it’s one of the most liberal and free-thinking community in all of North Carolina.
On the outskirts of the Blue Ridge Mountains is Looking Glass Falls. Transylvania and Brevard, NC which is only a few miles away from Asheville is home to 249 waterfalls. Looking Glass is one of the most beautiful.

I definitely want to come back here in the summer and take a dip in the waters. It was too chilly even at the end of September.

Kayaking on the French Broad River
If you’re an outdoorsmen than Asheville is the place for you. It’s surrounded by beautiful forestry that experiences all 4 seasons. If we came in October, we would have seen brilliant oranges, reds and browns in the distance. The trees were still quite lush in September. We followed the river for about 8 miles and even saw the Biltmore Estate over the right bank.
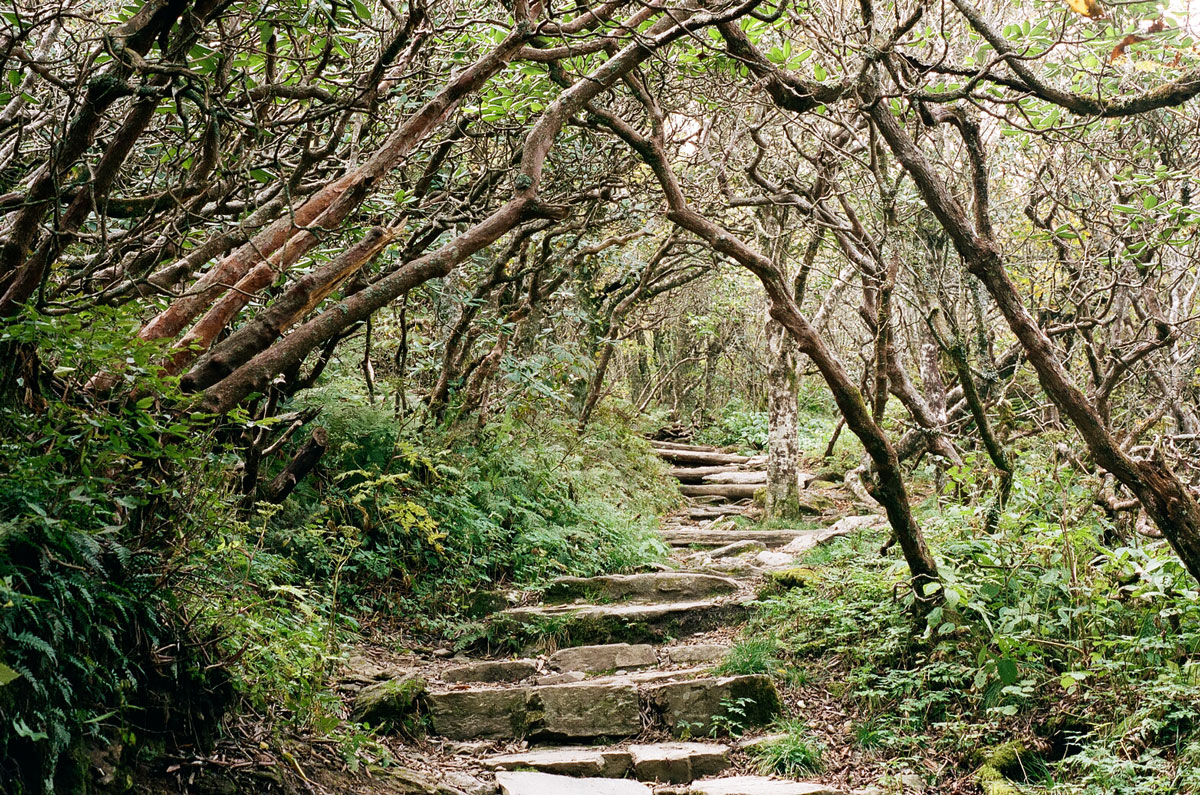
Miles of trails to hike on. This was like heading into the Shire, by the time we reached the peak it was just too foggy for good photos. But Craggy peak has some of the best views of the Blue Ridge and I hope to come back when the skies are clearer.
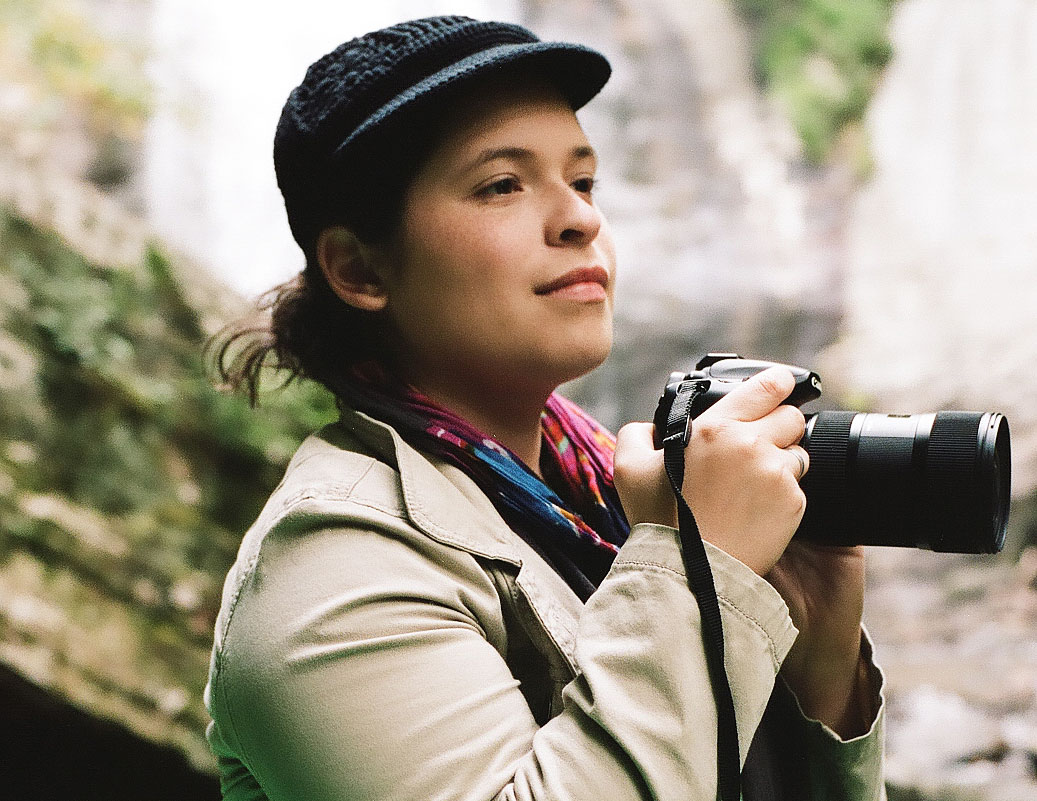
And of course it’s great to go with someone who enjoys nature and photography as much as you do.
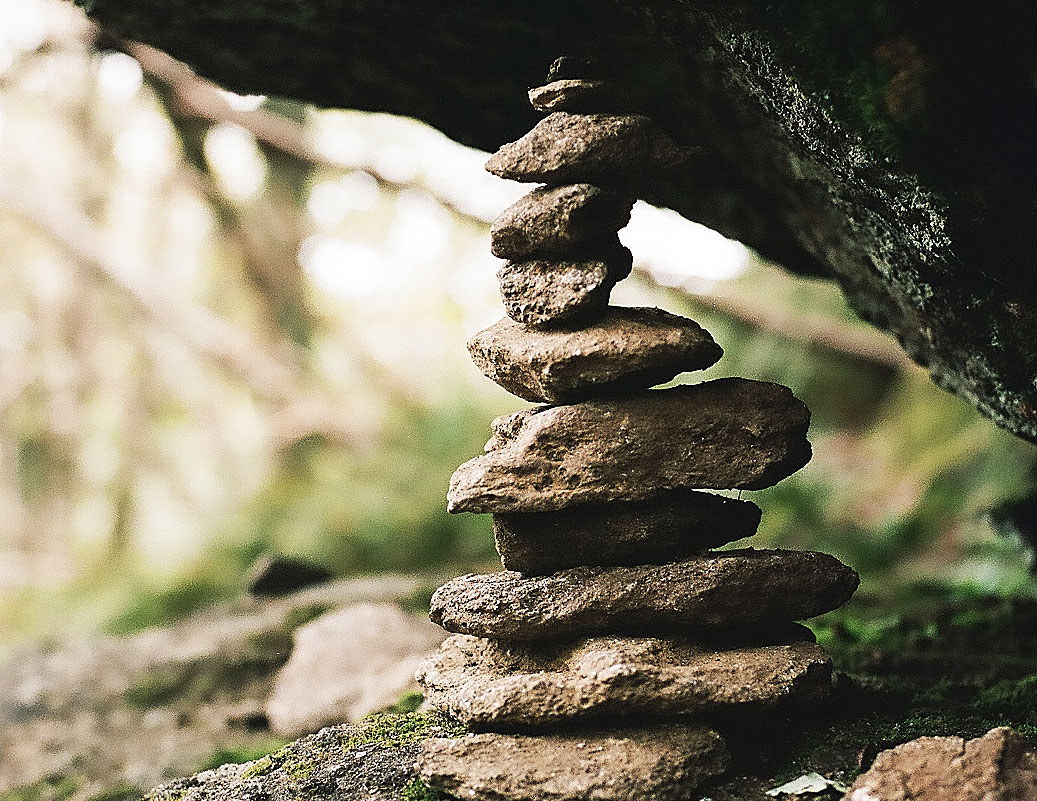
Travelers in this area add their stone to the pile as they pass. i managed to sneak a small one on top without disturbing the equilibrium.
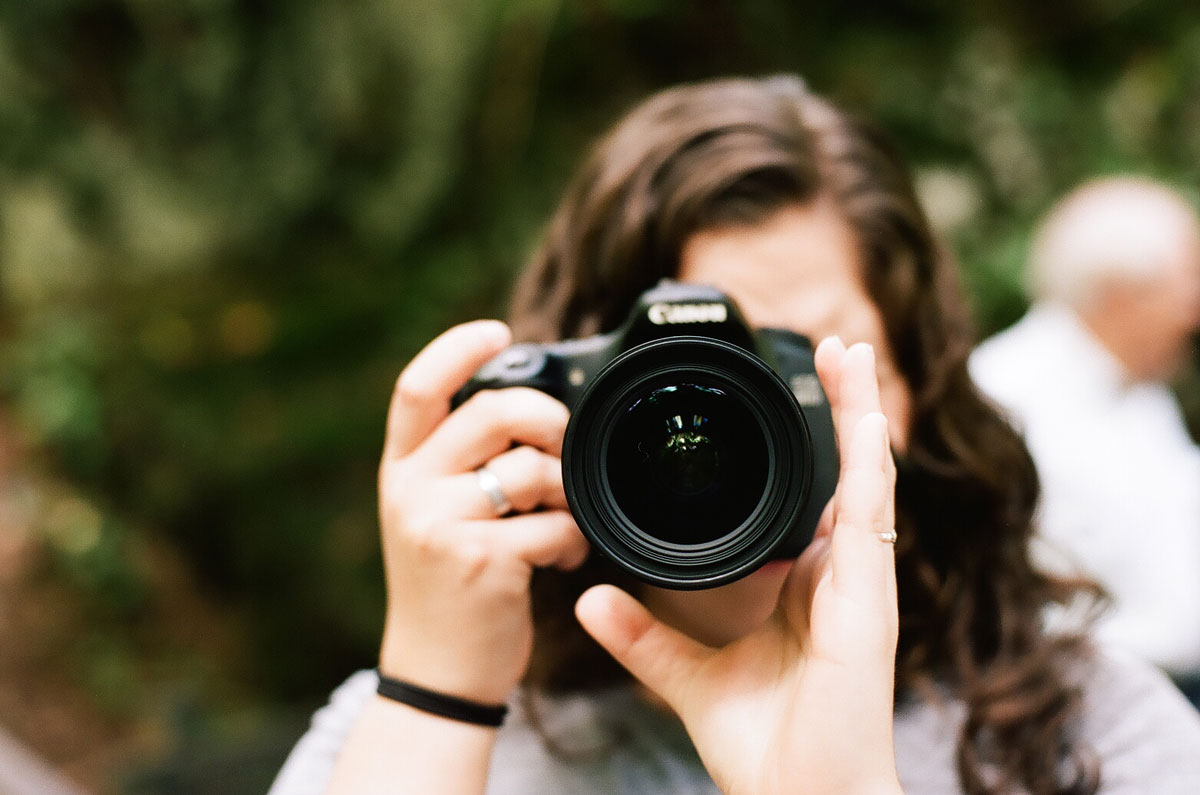
It’s nice to have my picture taken too sometimes.
That’s it for the photos taken with my old Nikon FE. I rarely shoot film but I thought it would be a nice touch for a vacation like this. All shots above were shot with a Nikon FE and a roll of Kodak Portra 400NC. This isn’t exactly the best film for landscapes, but I love the muted and neutral tones that it gives the scene. The following photos were taken with a Canon 60D and the brilliant Sigma 18-35mm f1.8.

After a mild hike, we found ourselves a little plateau hidden in above the rest of the trail for a breather.
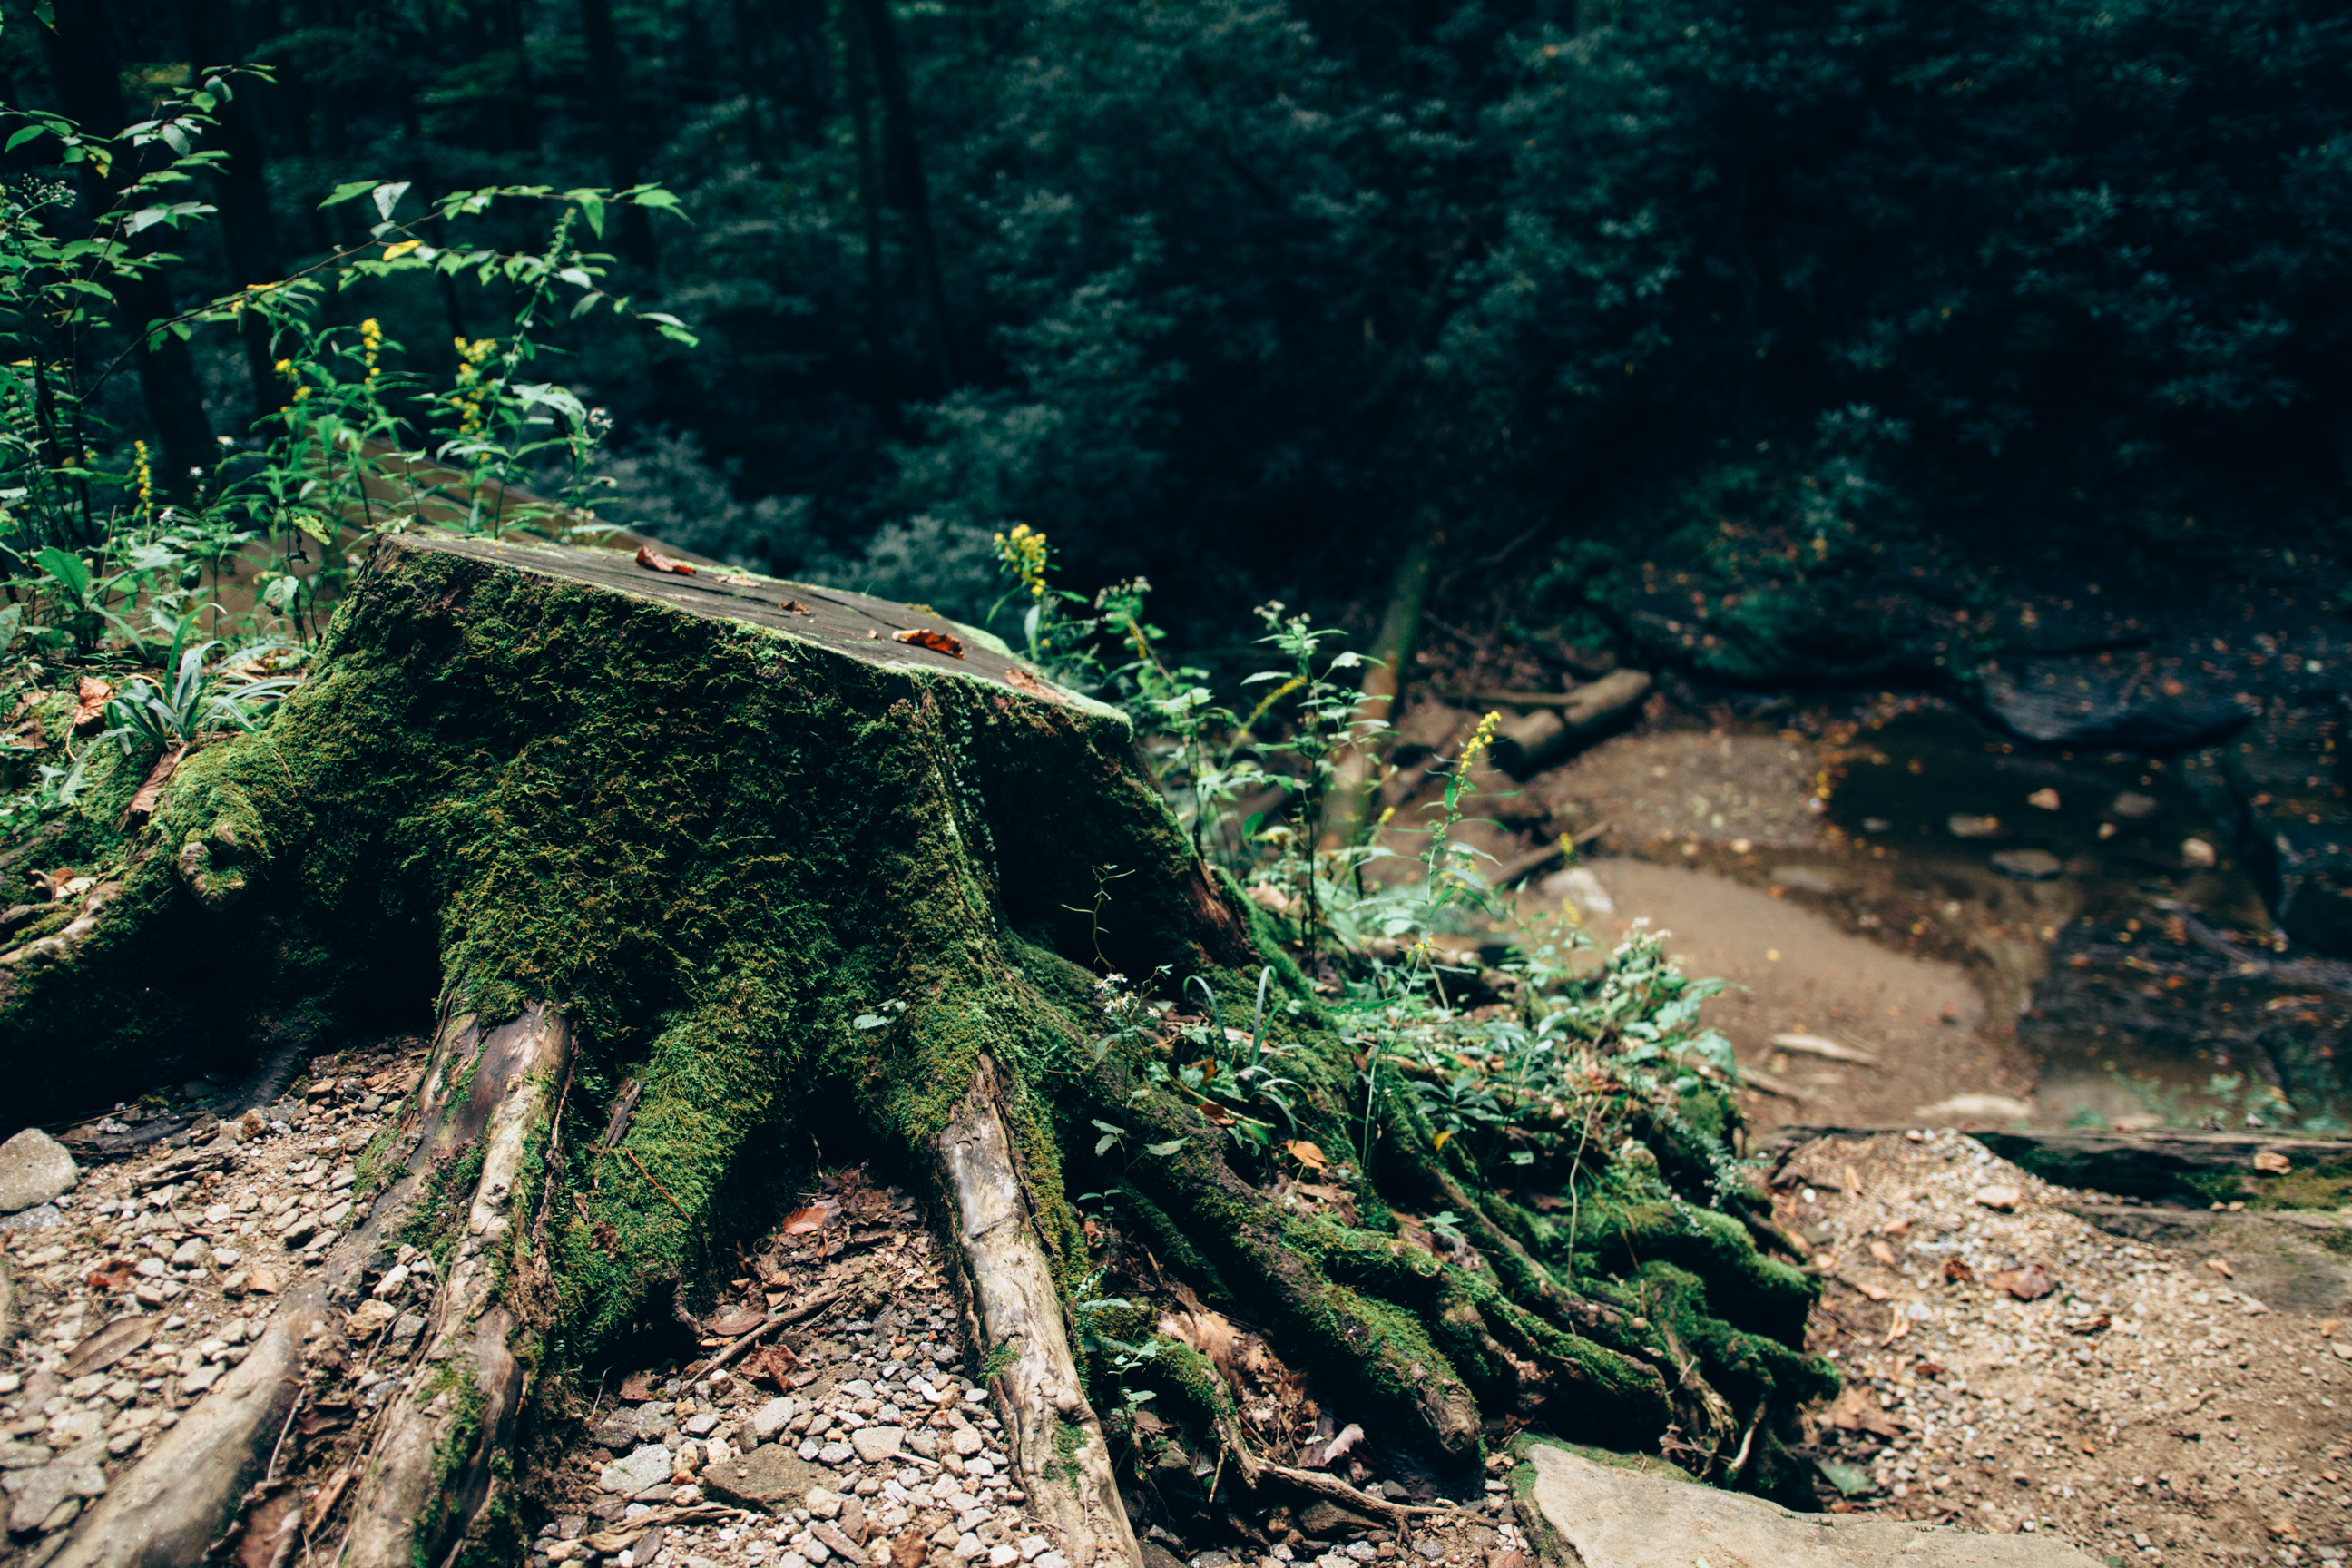
And we found this awesome looking tree stump overlooking the creek below.
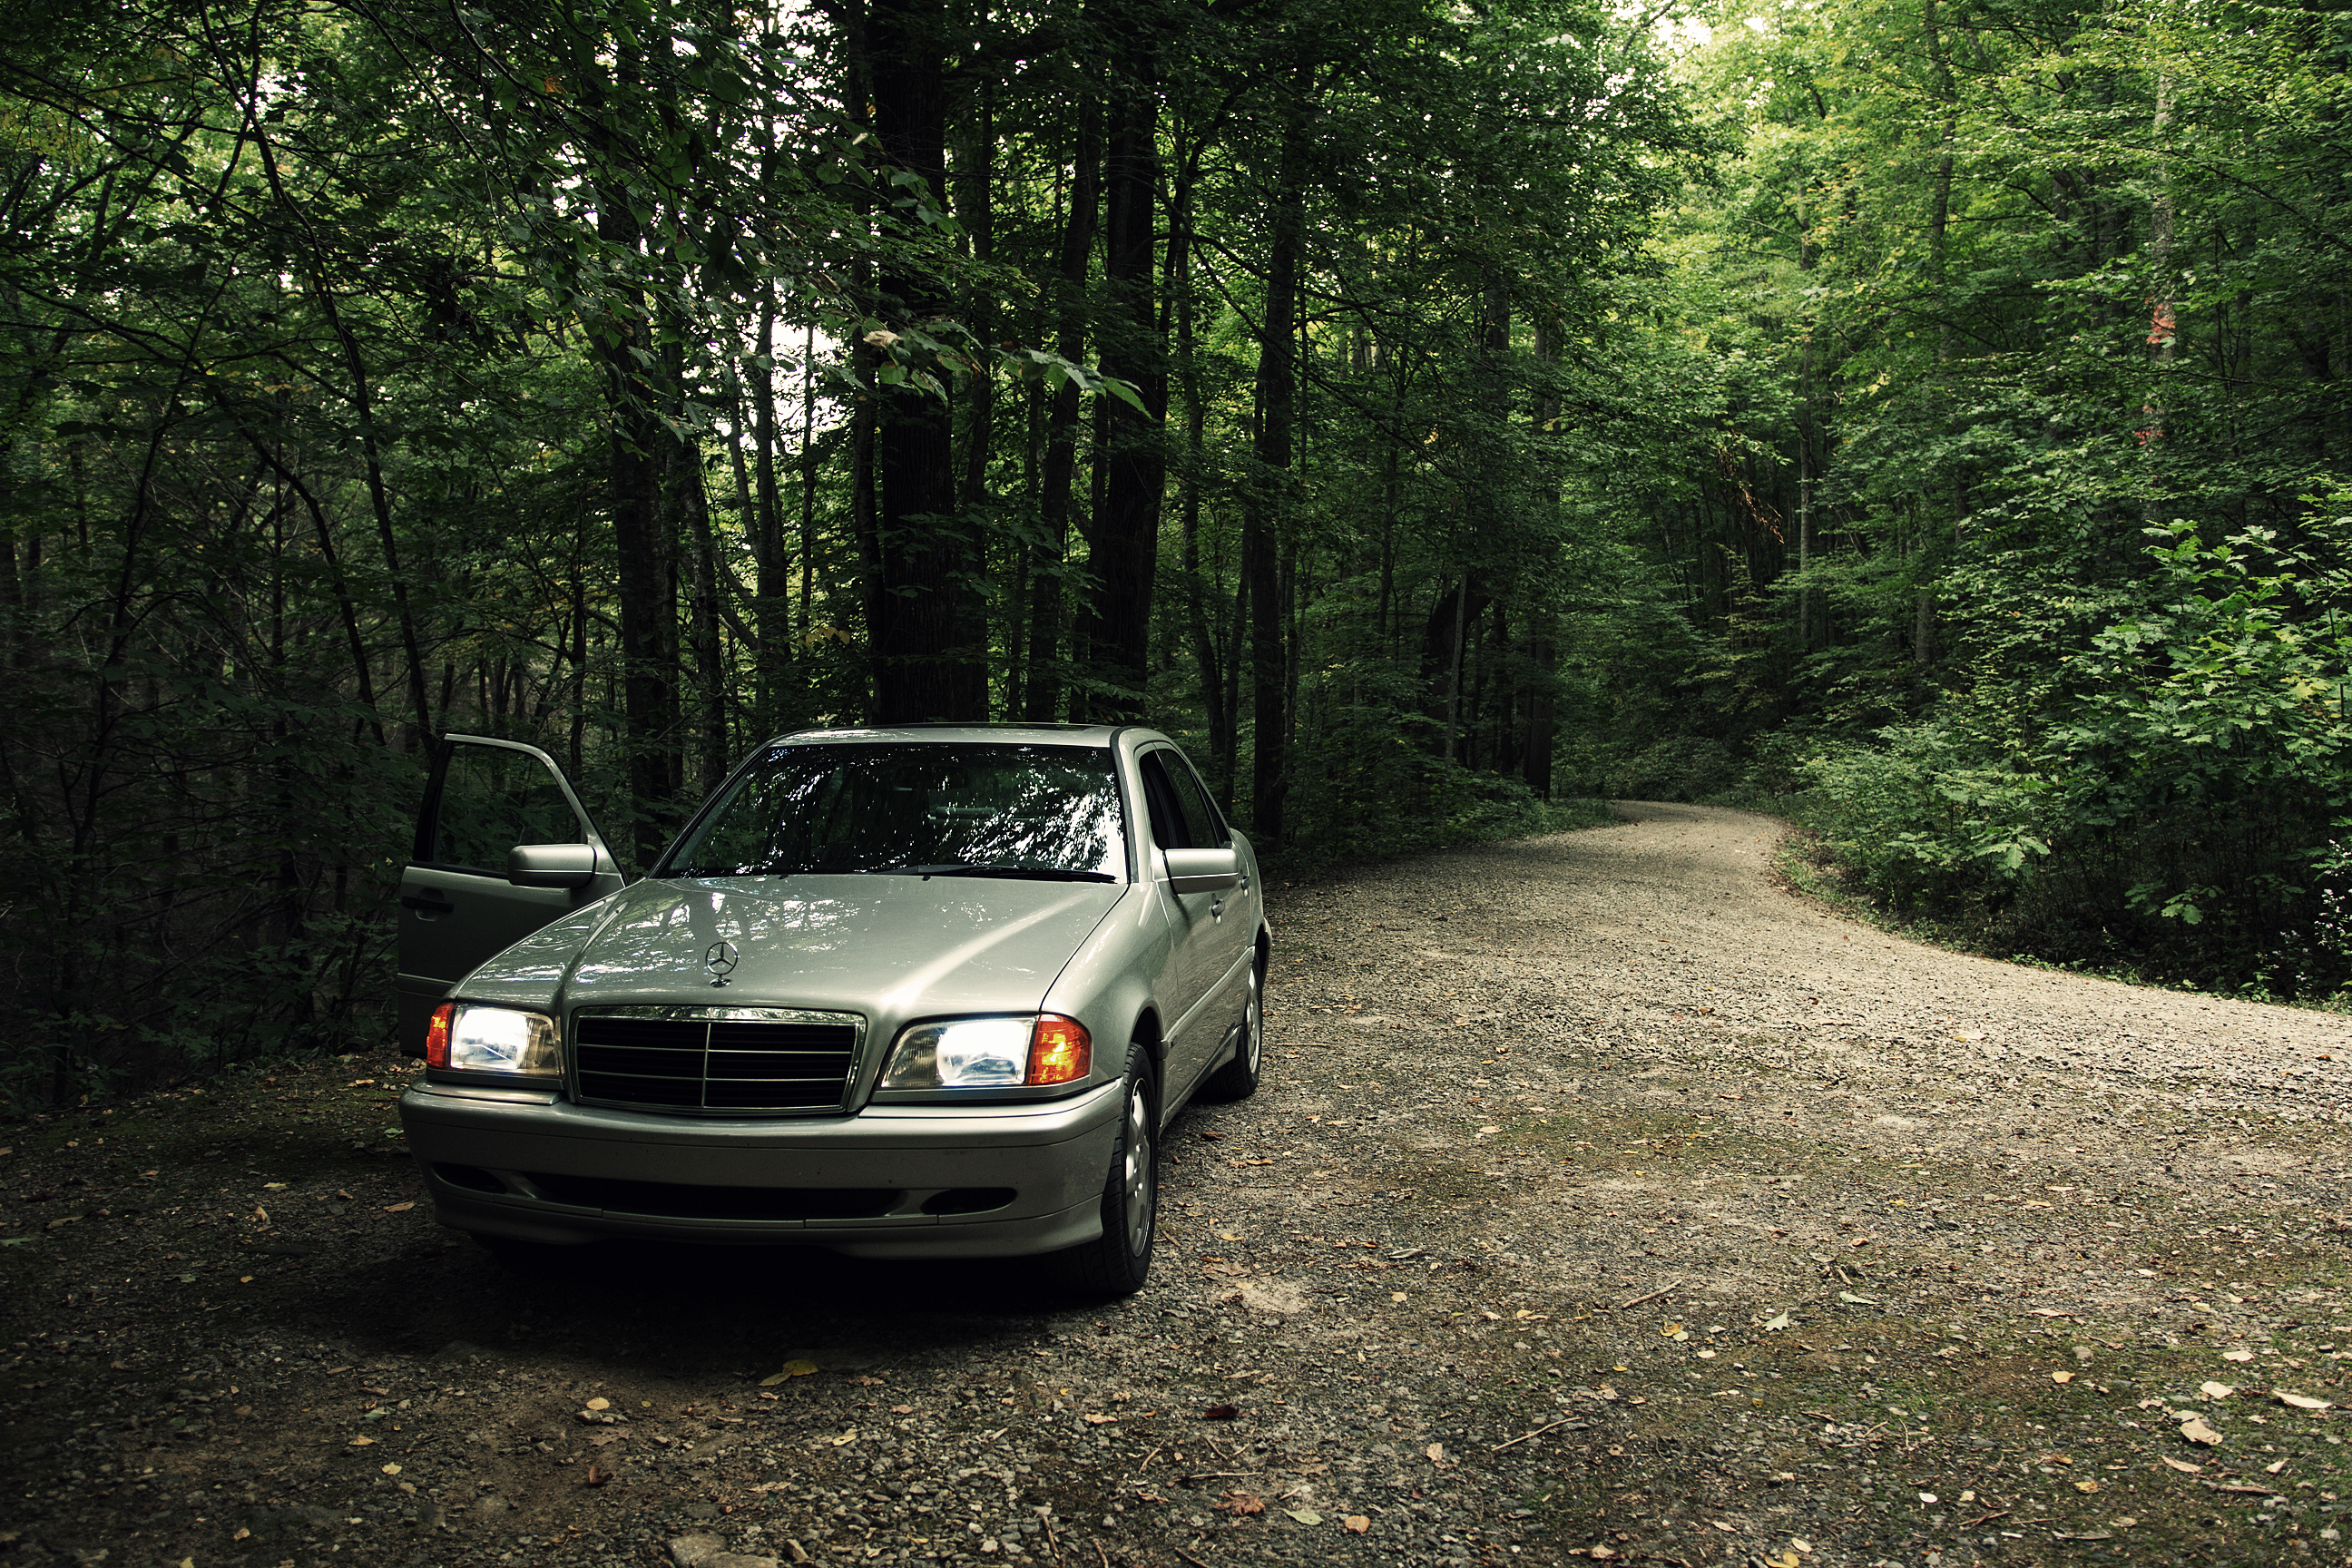
But there are some trails where you just have to drive to get to…after the pavement ended, this gravel road went on for another 8 miles, which felt like an eternity to get back onto the Blue Ridge Parkway. I was surprised my trusty C230 even made it up on this climb. We stopped to take a look at another waterfall below us.

And the countless trees in the canopy above us.

We made it to the top of a lower peak on another part of the mountains when the sky cleared up. It was a gorgeous site…but it wasn’t as gorgeous as seeing the mountains going 60mph down a zipline.

This was definitely the highlight of the trip, I just wished these zip lines lasted longer. In front of my was my girlfriend…but to the right of me was this…

Holy shit…and to the left of me was this…
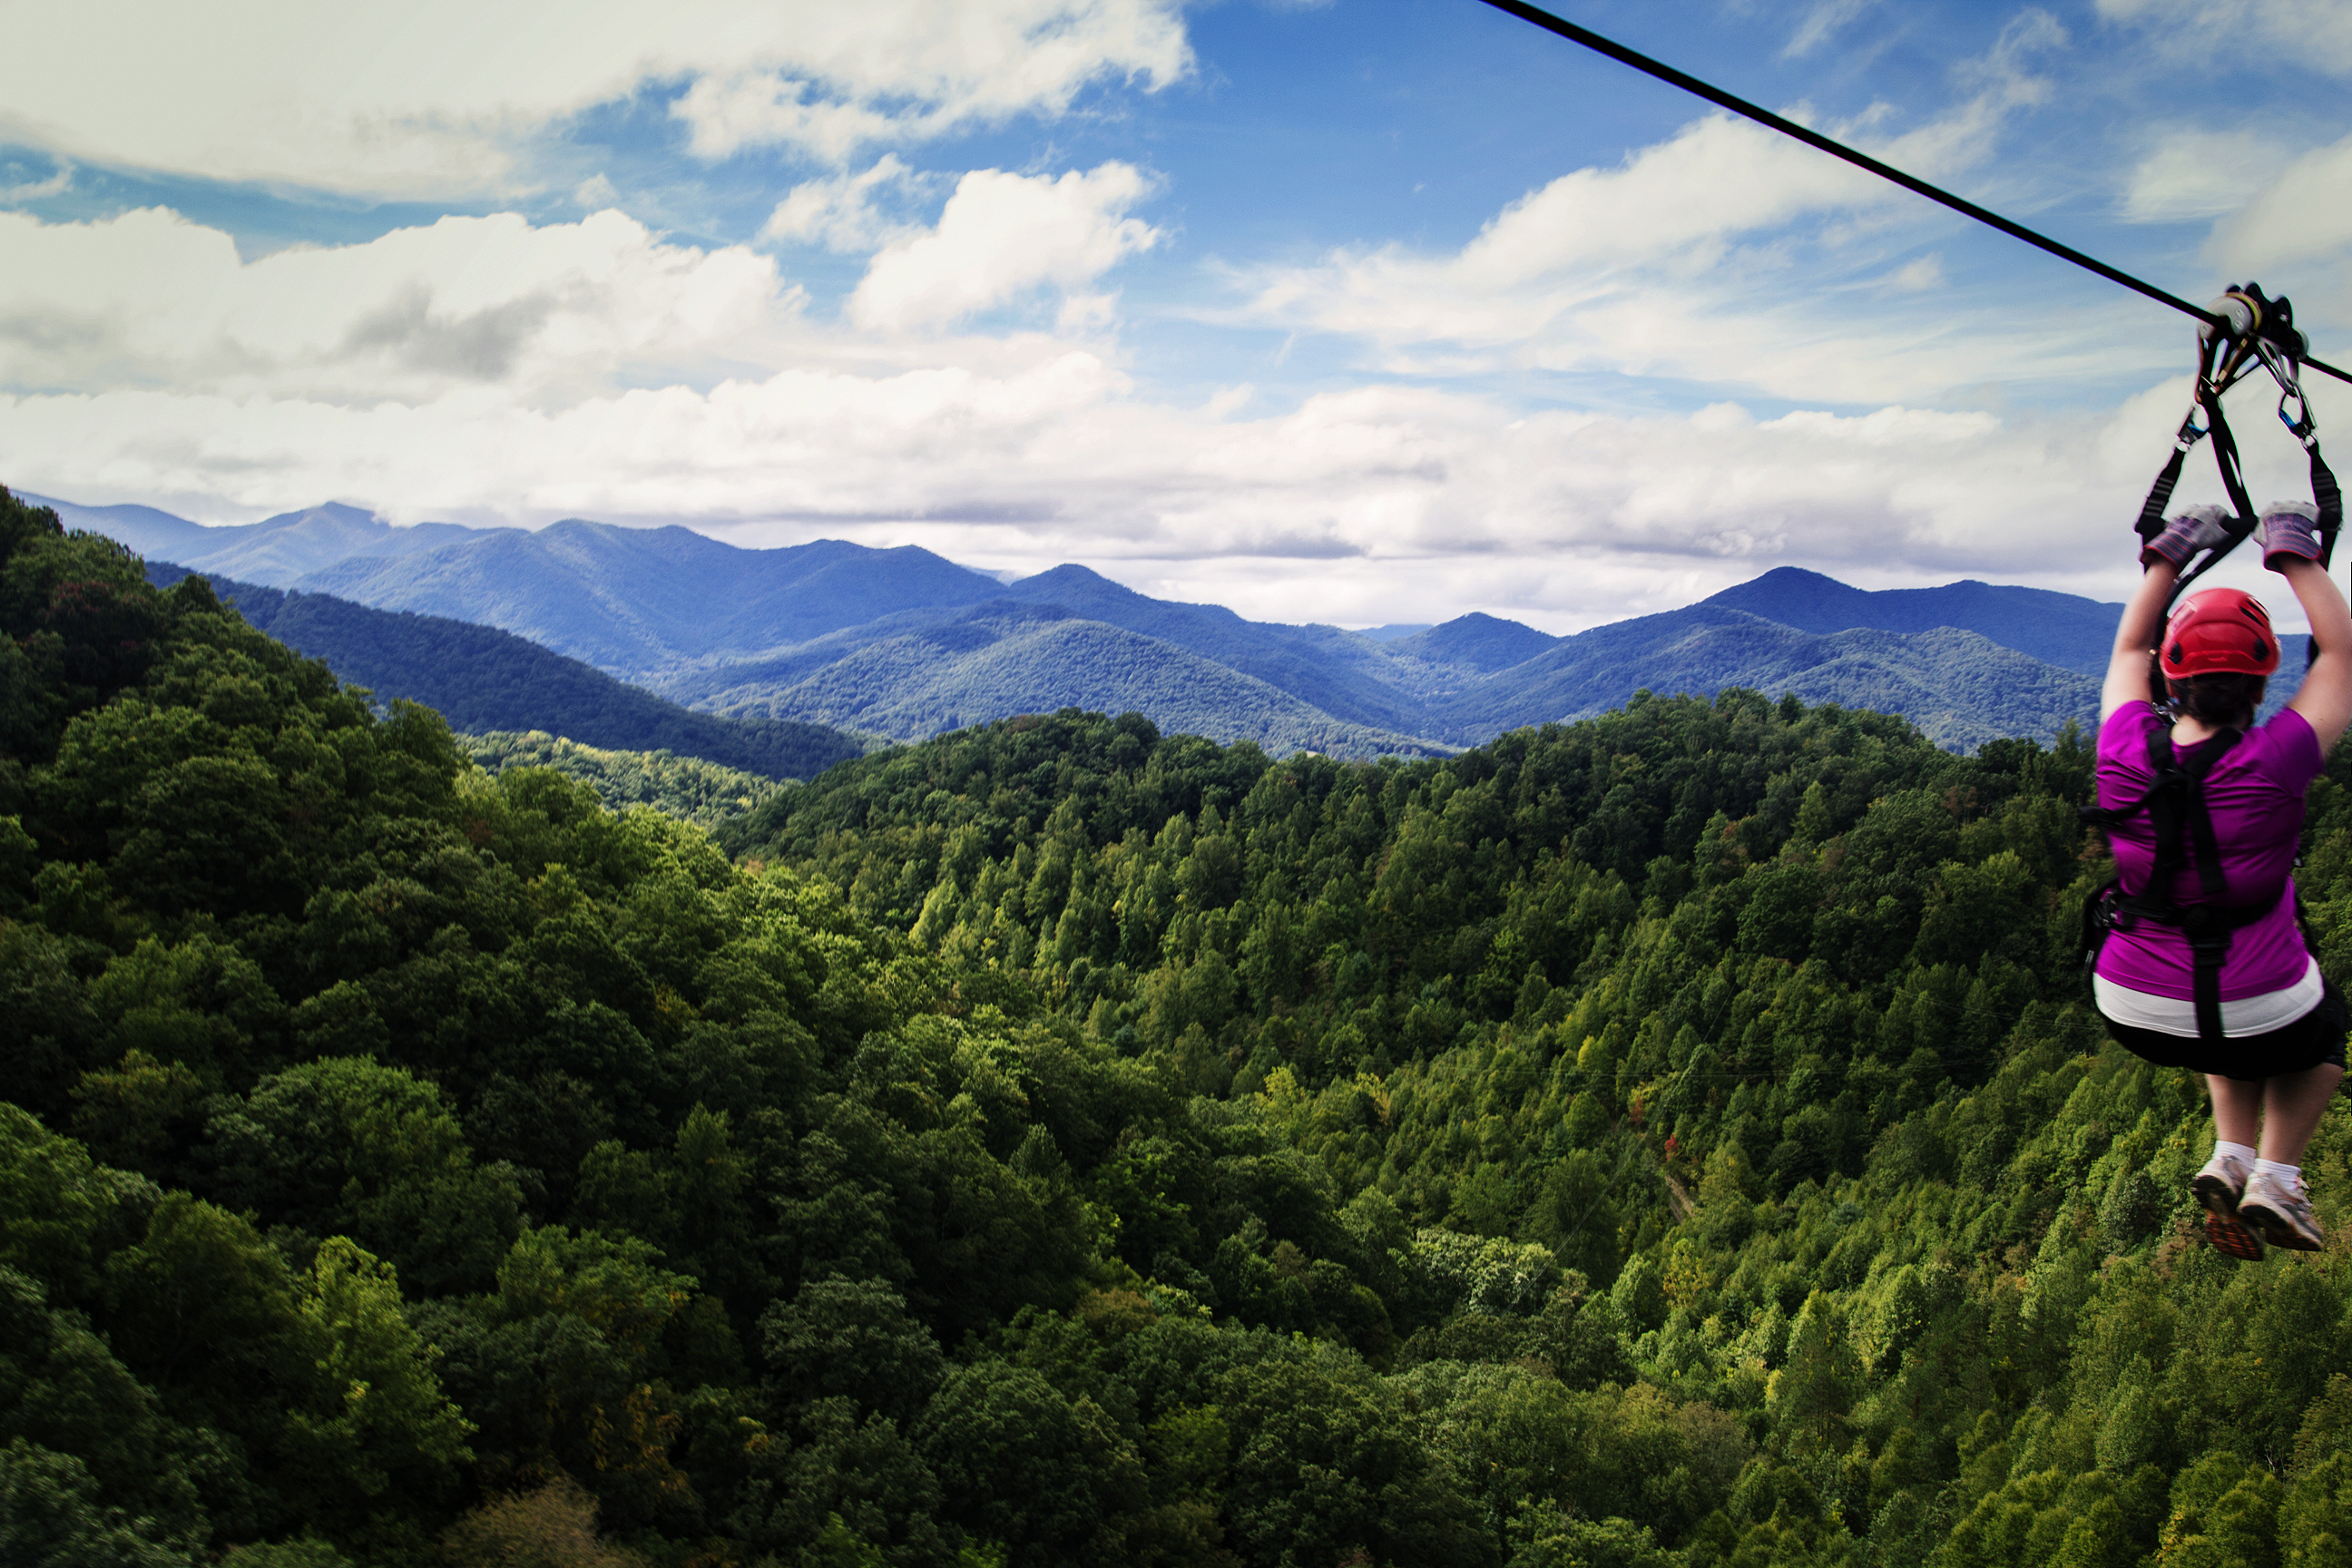
Simply gorgeous. There are no words, just look at the photos.

Of course, there were the shops in Asheville itself which basically was just one big ole cute Etsy shop.

Before heading out for some fancy dinners.

Asheville will be missed, I hope to return soon.

I bought an awesome Mission Workshop Rummy Messenger bag made from waxed canvas last year. Rode through many rainstorms with it strapped to my back with all my important papers, electronics and a 17 inch Macbook pro inside of it. The contents inside never got wet. In the last downpour I rode through, I discovered that it started to leak a little bit on the inside with the inner lining getting a bit damp. Some of my papers were damp as well. This was due to water penetration on the outside, through the cotton fabric. But this wasn’t any type of cotton, this was a nice 10 oz. wax cotton from Mission Workshop. This means that the cotton is impregnated with a type of parrafin/linseed oil wax that creates a water resistant barrier. I didn’t quite know what to think of it but soon realized that the wax from the factory was starting to deteriorate and dry out over time. This was probably due to the fact that the wax cotton fabric was sitting in the factory for a while before it was purchased and turned into a bag, or maybe because I tend to beat up my gear from heavy use. Either way, I needed to remedy the situation fast because when it rains in the South…it really comes down hard.
Mission Workshop itself does not sell any prodcut for you to rewax their cotton bags so I had to do a little bit of research on the internet. I came down to 3 choices. Otter Wax, Barbour Wax or Filson’s Oil Wax. From what I’ve read about Otter Wax, it comes in a bar and doesn’t go on very well even if you use a blow dryer. I wasn’t so sure how well things would work by just rubbing a dry bar of wax onto a bag. I didn’t want my bag to have a light coat of wax, I wanted that stuff to soak through the fabric and really get in there. Barbour was an excellent choice, but it’s made in Britain, would take a long time to get here because multiple vendors didn’t have it and I just wanted to go with American made. Filson’s was a bit of an anomaly. I’ve never heard of Filson’s and the name “Oil Finish Wax” made me a bit reluctant because I was afraid their wax would give my bag a permanent oily touch, you know, like those old school wind jackets that sailors would cover themselves with back in the day that constantly looked wet even when dry. After more research, I decided to give Filson’s a try just because they’ve been in the business for so long and they’ve been making all sorts of waxed cotton/ water resistant items since the 19th century. I’m glad I did, Filson’s Oil Finish Wax worked like a charm on my messenger bag. I would say that it went beyond “water resisting” the fabric, it waterproofed it.
That water stayed there for hours upon hours. It did not seep through the fabric, that’s how great Filson’s Oil Finish Wax is!
I’m going to run through how you can reproof your waxed cotton once the existing wax has worn off. It’s a very simple process but a bit time consuming because there are certain steps you must take in order to get the process right.

Here is the bag, a can of wax and a cotton rag. If you can, take the strap off the bag in order to make it easier to work with and get into the nooks and crannies of the bag with the wax. Give yourself a nice flat area to work with either on a floor or a nice big table.
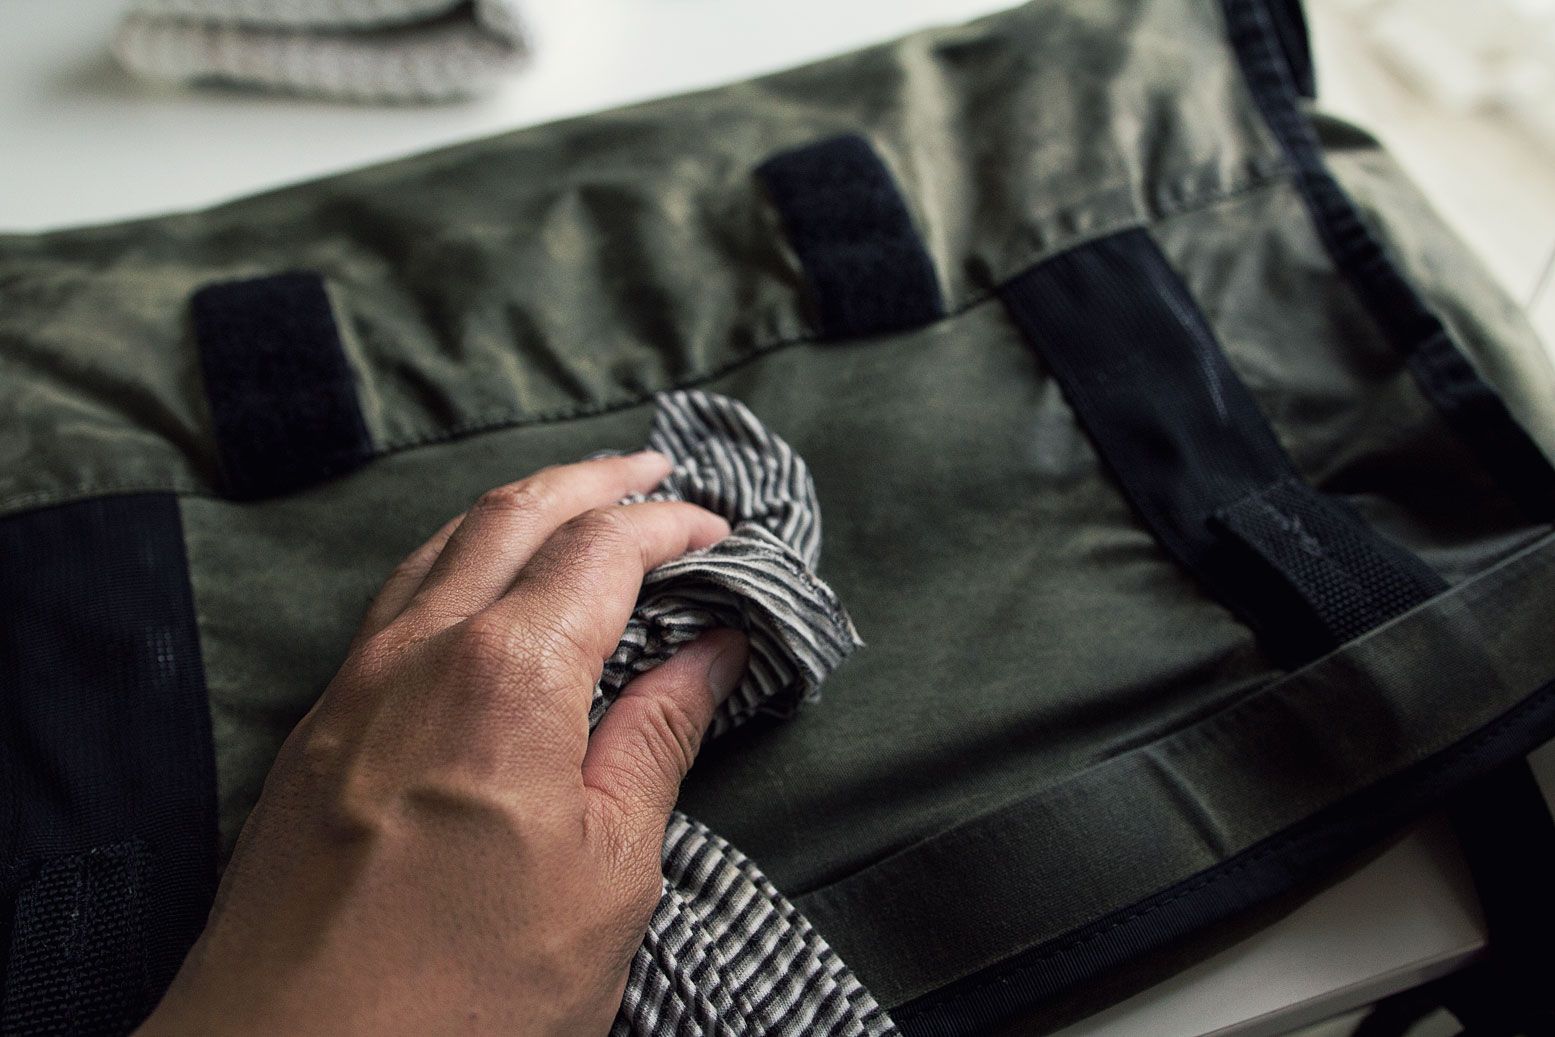
First, you’re going to want to use some cold water to wipe the bag down and clean off any dirt or caked on gunk from your adventures. You don’t want any abrasives on the bag while reproof it, the surface needs to be completely free of debris before you start. Think of it like waxing a car, you always clean your car before you wax it!

Next you’re going to want to heat the wax in really hot water until it is completely melted. What I did was place the tin of wax in a plastic bag and placed the entire thing in a pot of boiled water for about 20 minutes. You want the wax to be completely liquid so that it can absorb itself into the fabric. Preferably, the fabric should be heated to in order to really open up the pores and microscopic spaces within the cotton for even better absorption. The pros at Barbour and Belstaff use a heated table heated but who has one of those at home? I simply used a hair dryer at semi close range and went over the messenger bag a few times to get it warm and toasty.

Now, dip your rag into the wax and start rubbing the wax into the messenger bag, a small section at a time in a circular motion. Be sure to overlap because wax can’t really be spread easily once it’s in the fabric, you’ll have to overlap your sections in order to get every part of the messenger bag to absorb the wax. This is the most time consuming because you’ll have to get the wax on and then also use a hair dryer to insure that the area you’re around is warm. Liquid wax begins to harden very quickly. Even after a few minutes of taking it out of its tin, the wax starts to become a bit creamy. Even after I took the wax tin out of the bag, I kept it in a shallow bowl with hot water. If you do this, be sure the water doesn’t get into the wax. Keeping everything hot and liquid might be overkill, but I wanted the wax to really get in so that I didn’t have re-wax my bag every few months. The fabric will become significantly darker and look almost oily because of all the wax that it is absorbing. This is completely normal and that dark wet finish will eventually go away after a few days of drying.
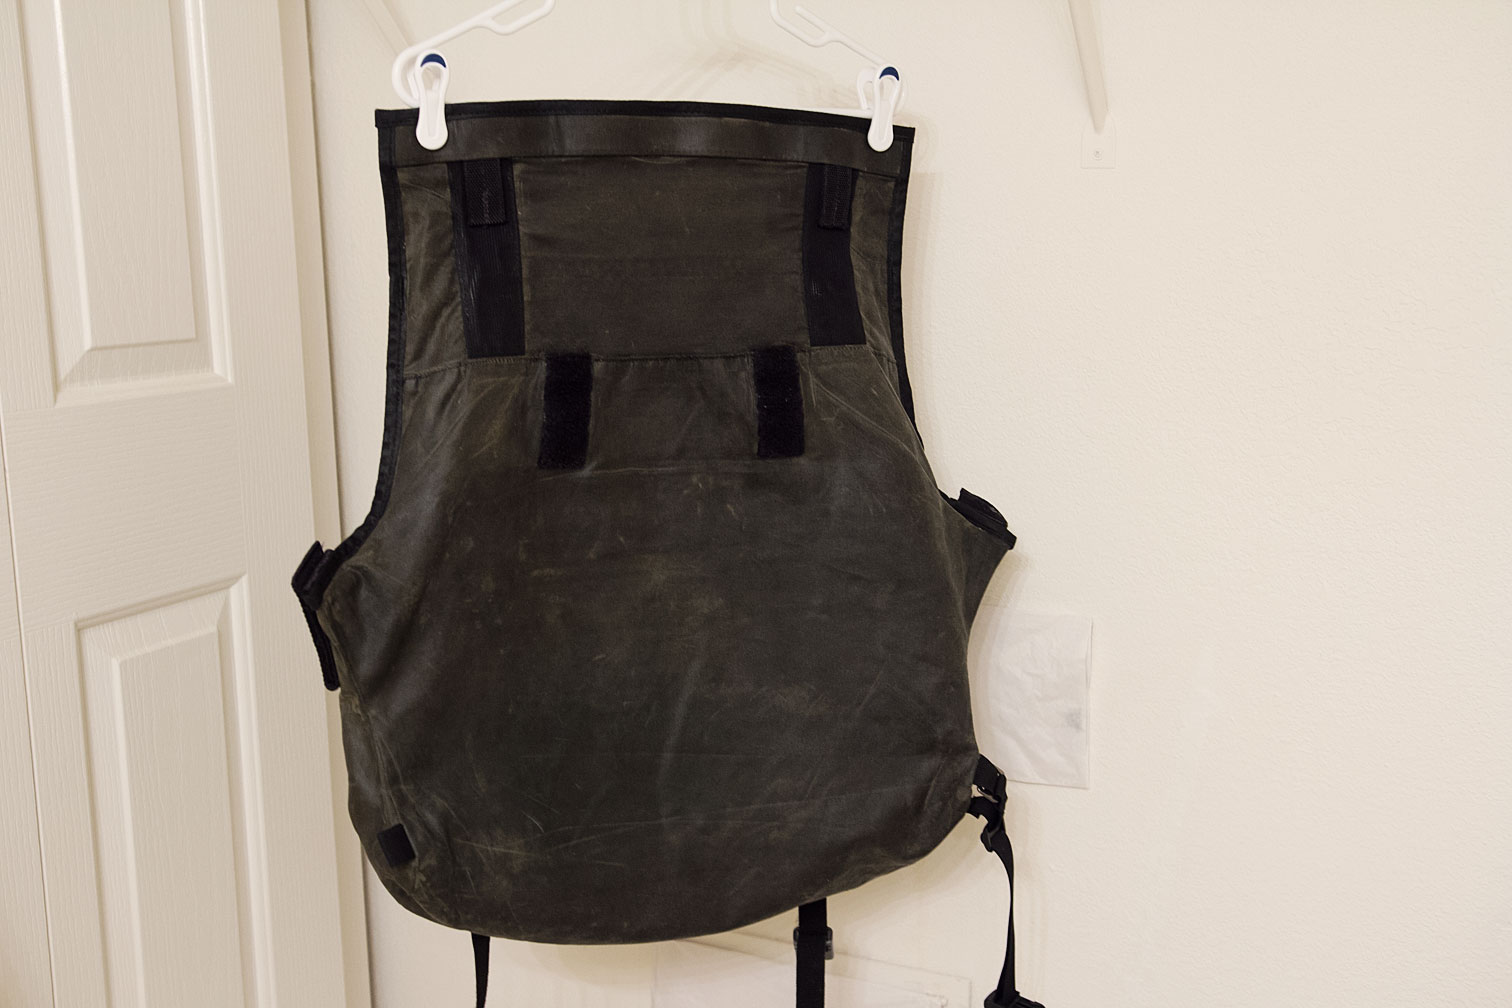
I was a little shocked at first by how oily the thing looked. At this point I was thinking…man, maybe I should have gone with Otter Wax, ha! When you’re done waxing, hang the bag up in a warm room and let the bag naturally air dry over 24 hours. Immediately after waxing, the bag will be sticky to the touch and just overall, a bit gross but like I said, that is completely natural. Don’t attempt to take it out immediately into the rain or drag it through the mud.
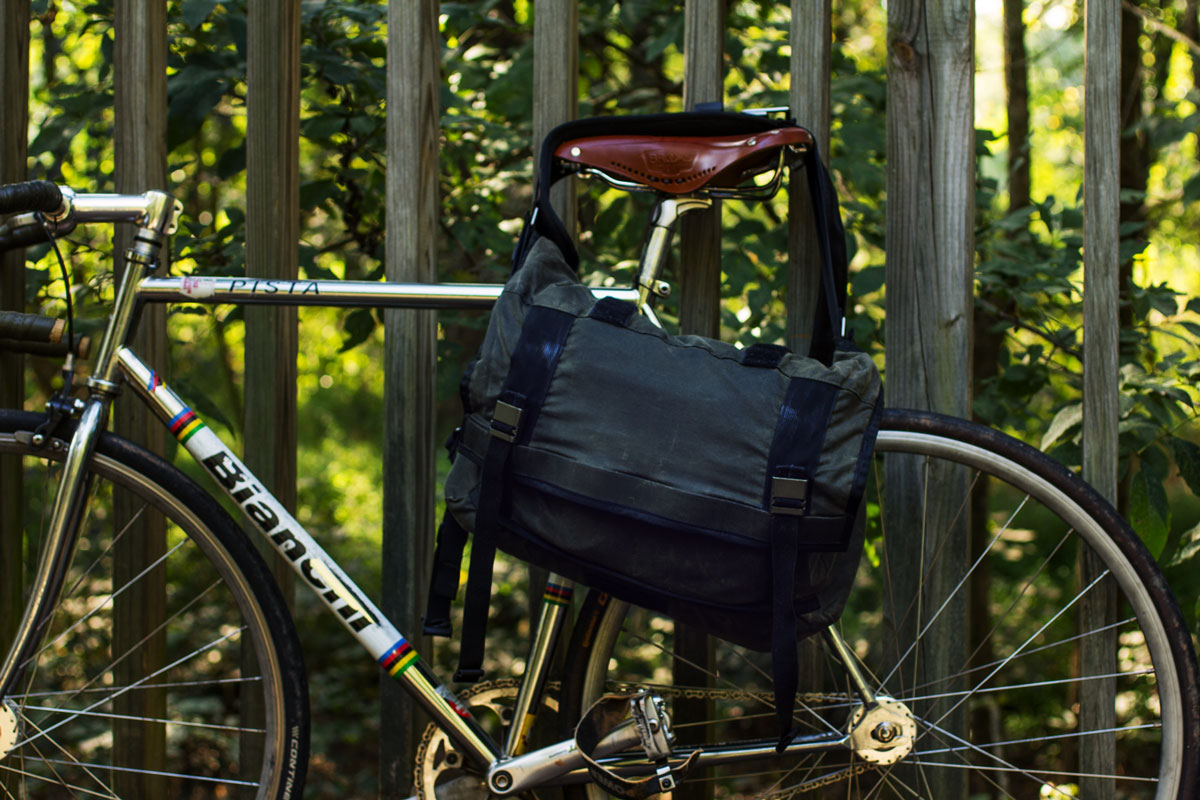
This was 24 hours after the bag has dried. It still has a little bit of sheen to it, but it’s well on its way to drying completely and looking like how I got it from Mission Workshop…only a little better. Filson’s wax will give your bags a slightly darker look to with a bit of sheen, like leather.
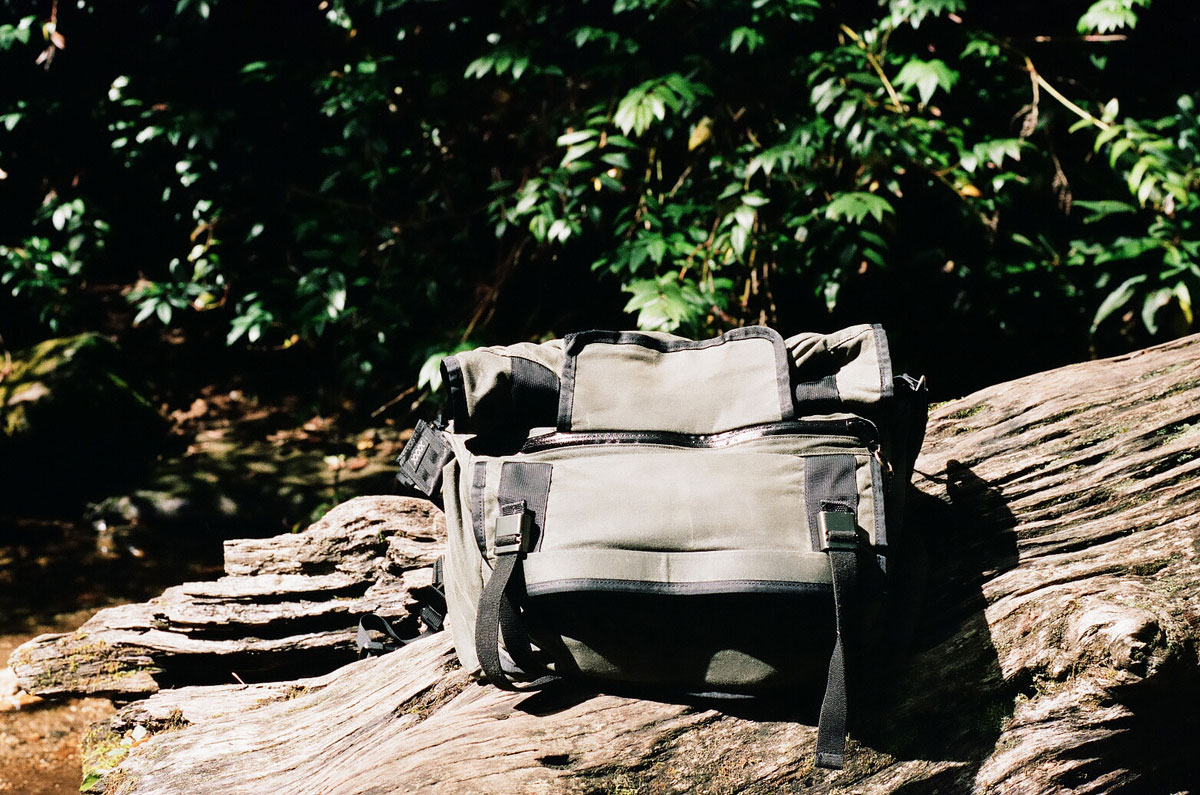
After a couple days, the bag will basically be back in brand new condition and fully weatherproof as before.

This is how good Filson’s wax is! The wax is so strong that if this cotton material were larger, I could use it as a rain tarp for camping. Before waxing, water soaked into the fabric after a few minutes, but now it just sits there. These are 2 truly great products used with each other. Keep in mind that for ultimate water protection, I don’t think anything beats Gore-tex or Cordura, these are just simply fabrics made with newer technology. But if you have an appreciation for how things were done during days gone by, wax canvas bags and jackets can offer equally good protection as long as it is maintained properly.
Leave any comments if you have any questions about the re-proofing process. Thanks for reading!
I’m not quite sure if bicycle commuting was ever about saving money on gas. Not really. It’s merely a net transfer of costs from one thing, gas, to another, food. Let’s be real, everything needs energy to move. Your car needs gasoline, your body needs food and lots of it if you’re going to be biking 14 miles a day between work/school/home. All bicycle commuting is, is a net transfer of cost, in the end you’ll be spending money, regardless of what it’s on. The positive externalities that result from you biking though, that’s what matters. You’re making yourself less reliant on a scarce resource. You’re saving the environment, you’re being a lot healthier, and you’ll be saving some money on car upkeep. So in a way, you’re indirectly saving quite a bit of money on other things. I’m not a gungho bicyclist where I would ever get rid of my car though. Hell no. I love driving, the individuality my car gives me and road trips on the weekends way too much for that, but by cutting down on city stop n’ go miles, you’re actually prolonging the life of your engine and transmission with less wear and tear. Just by bicycling 3-4 days out of the week, you’ll notice that how many miles you’re not racking up on the odometer. If you’re getting rid of your car all together and don’t have to pay parking cost, then yes, you’d be saving a ton of money. If you live in Boston, bike and don’t need a car, then yes you’re saving a ton of money but if you’re living in Boston, you have a much higher cost of living anyways. Sigh, there really is no free lunch except saving the environment and exercise. Those are definitely things you get for free, if you bike.
There are downsides that I’ve realized. Some places where it’s always cold and windy as hell such as San Francisco, Portland, Seattle, Maine, Vermont are good for bicycle commuting. I’m in the South where it’s horrifically humid up to December…well then, I think bicycle commuting only works for a select few. You’re either a student, where you can just arrive to class sweating your ass off and looking like a wet turd or you’re the boss, and have your own private shower to refresh yourself. Commuting just doesn’t work in weather like this if you need to arrive somewhere presentable because I guarantee you by the 2nd mile, you will be drenched. I don’t care if you’re riding fixed gear, single speed, 25 gear etc, you’re gonna get soaked in sweat. I can do it because I don’t really care how I look when I arrive to class but I guarantee you if I have anyone to meet for an interview, I’ll be driving. Over the summer while i was interning full time, I was still able to get away with biking because there was a pretty relaxed dress code. But if I had a full time office job, than commuting would not be a possibility unless I lived a couple blocks away from work.
These are all things that you must decide upon if you decide to commute. Plan to eat at least 2 extra hearty meals a day if you commute via bike. Eat breakfast and always get a good night sleep. When you commute, you really need a routine to stick to and you need to plan very carefully how you will go about your day’s objectives. Random trips that go out of the way are no longer possible since every extra trip will take longer on a bicycle.
Bicycle commuting isn’t for everyone. A lot of cities in the United States still don’t have the infrastructure to accommodate bicycle commuters so it’s important to map out routes in potentially dangerous or hilly areas in order to maximize and efficiently use your body’s energy.

Shot with a Canon 5D and 50mm f2.5 Macro
 Audley Yung